How to Patch Drywall Drywall patching is a common and essential home improvement task that many homeowners think of as a handyman job.
Why? Because walls are one of the most basic structural elements that determine the character and stance of a home. A small scratch or a small impact can be a harbinger of big problems over time. This is where the plasterboard patch comes into play.
Drywall repair not only adds an aesthetic touch, but also maintains the structural integrity of the wall. Those punctures that do not look pleasant to the eyes of the guests disappear thanks to the repair, while your home takes a new breath.
Contributing to your home with your own hands is like being a partner in an empathetic story. The excitement of creating miracles with a hammer, a crowbar and some plaster will be worth all your tiredness.
Step by Step Guide How to Patch Drywall
Materials and Tools Required
Before you set off, it is imperative that you roll up your sleeves and get the necessary drywall repair tools ready! Here’s what you need:
- Drywall spare parts
- Plaster or putty
- Putty knife
- Sandpaper
- Screw and drill
- Wire or mesh patches
- Paint and roller Repair of Small Drywall Holes
Small drywall holes are often caused by nail or small screw marks. It is necessary to deal with the actual problem in a thorough manner. First, remove any loose pieces surrounding the hole. Next, take your putty and apply it generously to the hole. This takes a bit of finesse, but once you get the hang of it, it’s not easy. Spread the putty to create a smooth surface. There is a golden rule; smoothness is the ultimate goal.
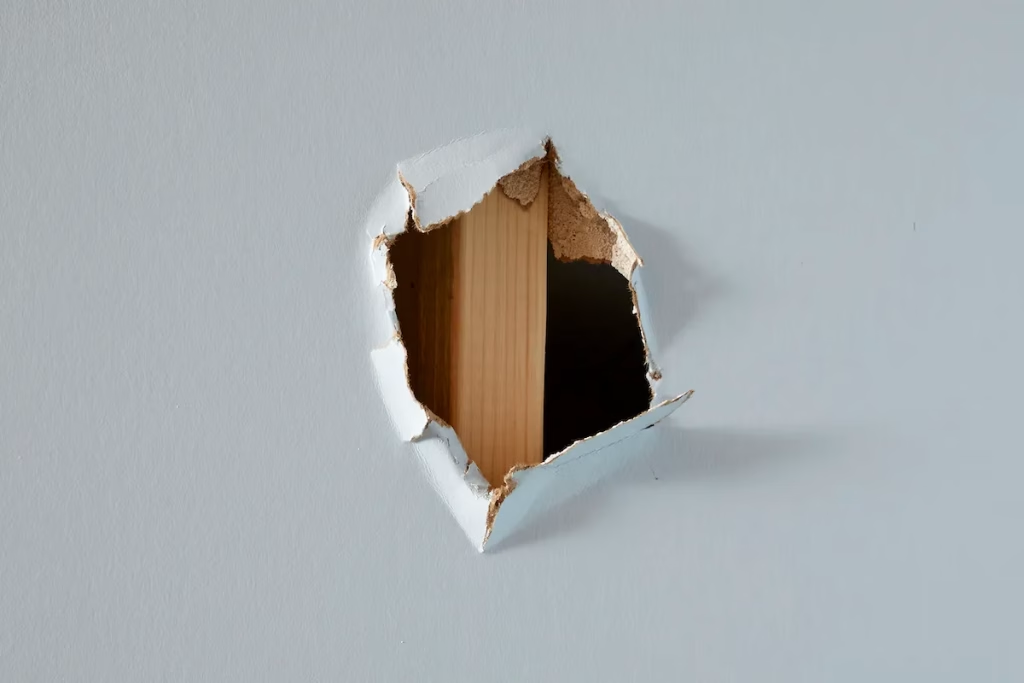
Elimination of Major Drywall Damage
If small holes don’t annoy you, here’s some major drywall damage! This job requires extra patience and care. Firstly, carefully cut out the damaged area so that your new patch fits properly. You can use mesh patches or wire to secure the drywall. Once the patch is in place, it’s time to smooth the edges. This is where a putty knife comes in handy. When the process is complete, sand the surface for a smooth appearance.
Tips and Tricks
Drywall patching requires a few astute hunches as well as a lot of skill. Here are some touchstones before you get into the muck:
- Never rush; time and patience are your best friends when patching.
- When applying putty, work layer by layer. Moving on to the next layer without waiting for the first layer to dry may cause you to redo the work.
- Use the sandpaper with even pressure so that the surface does not leave marks such as mussel shells.
- When painting at the end of the process, pay attention to colour matching; even a slight difference in tone can reveal the secret of the whole job.
Conclusion
Wall patching techniques offer the possibility to preserve and sometimes even enhance the original appearance of the house. The soul of a house lies in its layers, so by repairing drywall without seams, you not only preserve the wall, but also the friendly atmosphere of your home.
Drywall patching is a DIY project that is less laborious and more satisfying than it sounds. Not to forget, every repair is part of the mysterious story of your home, winking at your guests. This exciting work, not with a shovel but with a heart, makes your home sparkle once again, like the first day. Here, the walls will whisper to you “come on, do it again!” and the fortress of the home you have rebuilt will become stronger.
Good Luck For Patching
How to Unclog Your Sink Without Harsh Chemicals 2025